A Beginner’s Guide to Starting a Herb Garden
by Kayla Nguyen
The switch from dining halls to making your own meals is not an easy one, but having herbs on-hand to (all)spice up your cooking will have your meals tasting just like (carda)mom’s in no thyme and will certainly keep the dining hall nostalgia at bay (leaf). The thought of growing your own herb garden can be daunting, but it’s not as difficult as it seems, so take a deep breath and chill(i)!
As a dorm resident last year, I was among the population of struggling students thrown from the dining halls to a home kitchen, with many bland and unsalted meals to show for it. However, I was lucky enough to have a patient mom who engraved one tip in my mind: food is not food without herbs and spices. Yet, what seemed to be an easy fix came with another issue: considering the fragility and short shelf-life of herbs, going to the grocery store every few days in the midst of a global pandemic was an infeasible and potentially dangerous task.
After mindlessly scrolling through Pinterest, as one does in quarantine, I came across window-box herb gardens that could be placed in the kitchen window. With a hopeful heart and an empty stomach, I drove over to my local Home Depot and started a journey that has led to my own box of five healthy plants and, by the end of this guide, I hope you feel inspired to do the same.
What are Herbs? Anise to Meet You
While culinary herbs are the most well-known variety, herbs can actually be classified into three categories based on use and three categories based on season. The most popular type of herbs, culinary herbs, are used mainly for cooking and garnishes. Some examples include thyme, basil, cilantro, and mint. Most, if not all, of the plant is used, and are integrated into recipes for their earthy aromatic flavor. Ornamental herbs are mainly used for decoration in a garden or home and are known for their vibrant colors and shapes, such as coneflower and woodruff. Lastly, medicinal herbs such as chamomile and echinacea are known for their healing properties and are widely prevalent in holistic medicine.
These categories based on use can be further classified into seasonal categories, including annuals, biennials, and perennials, with annuals living only one year from seed to death, biennials surviving for two, and perennials reflowering every year. While there is no limit or set form to a window-box herb garden, we will focus on the most common herbs for window-box gardens: culinary herbs.
Choosing Your Herbs: Whatever’s Mint To Be
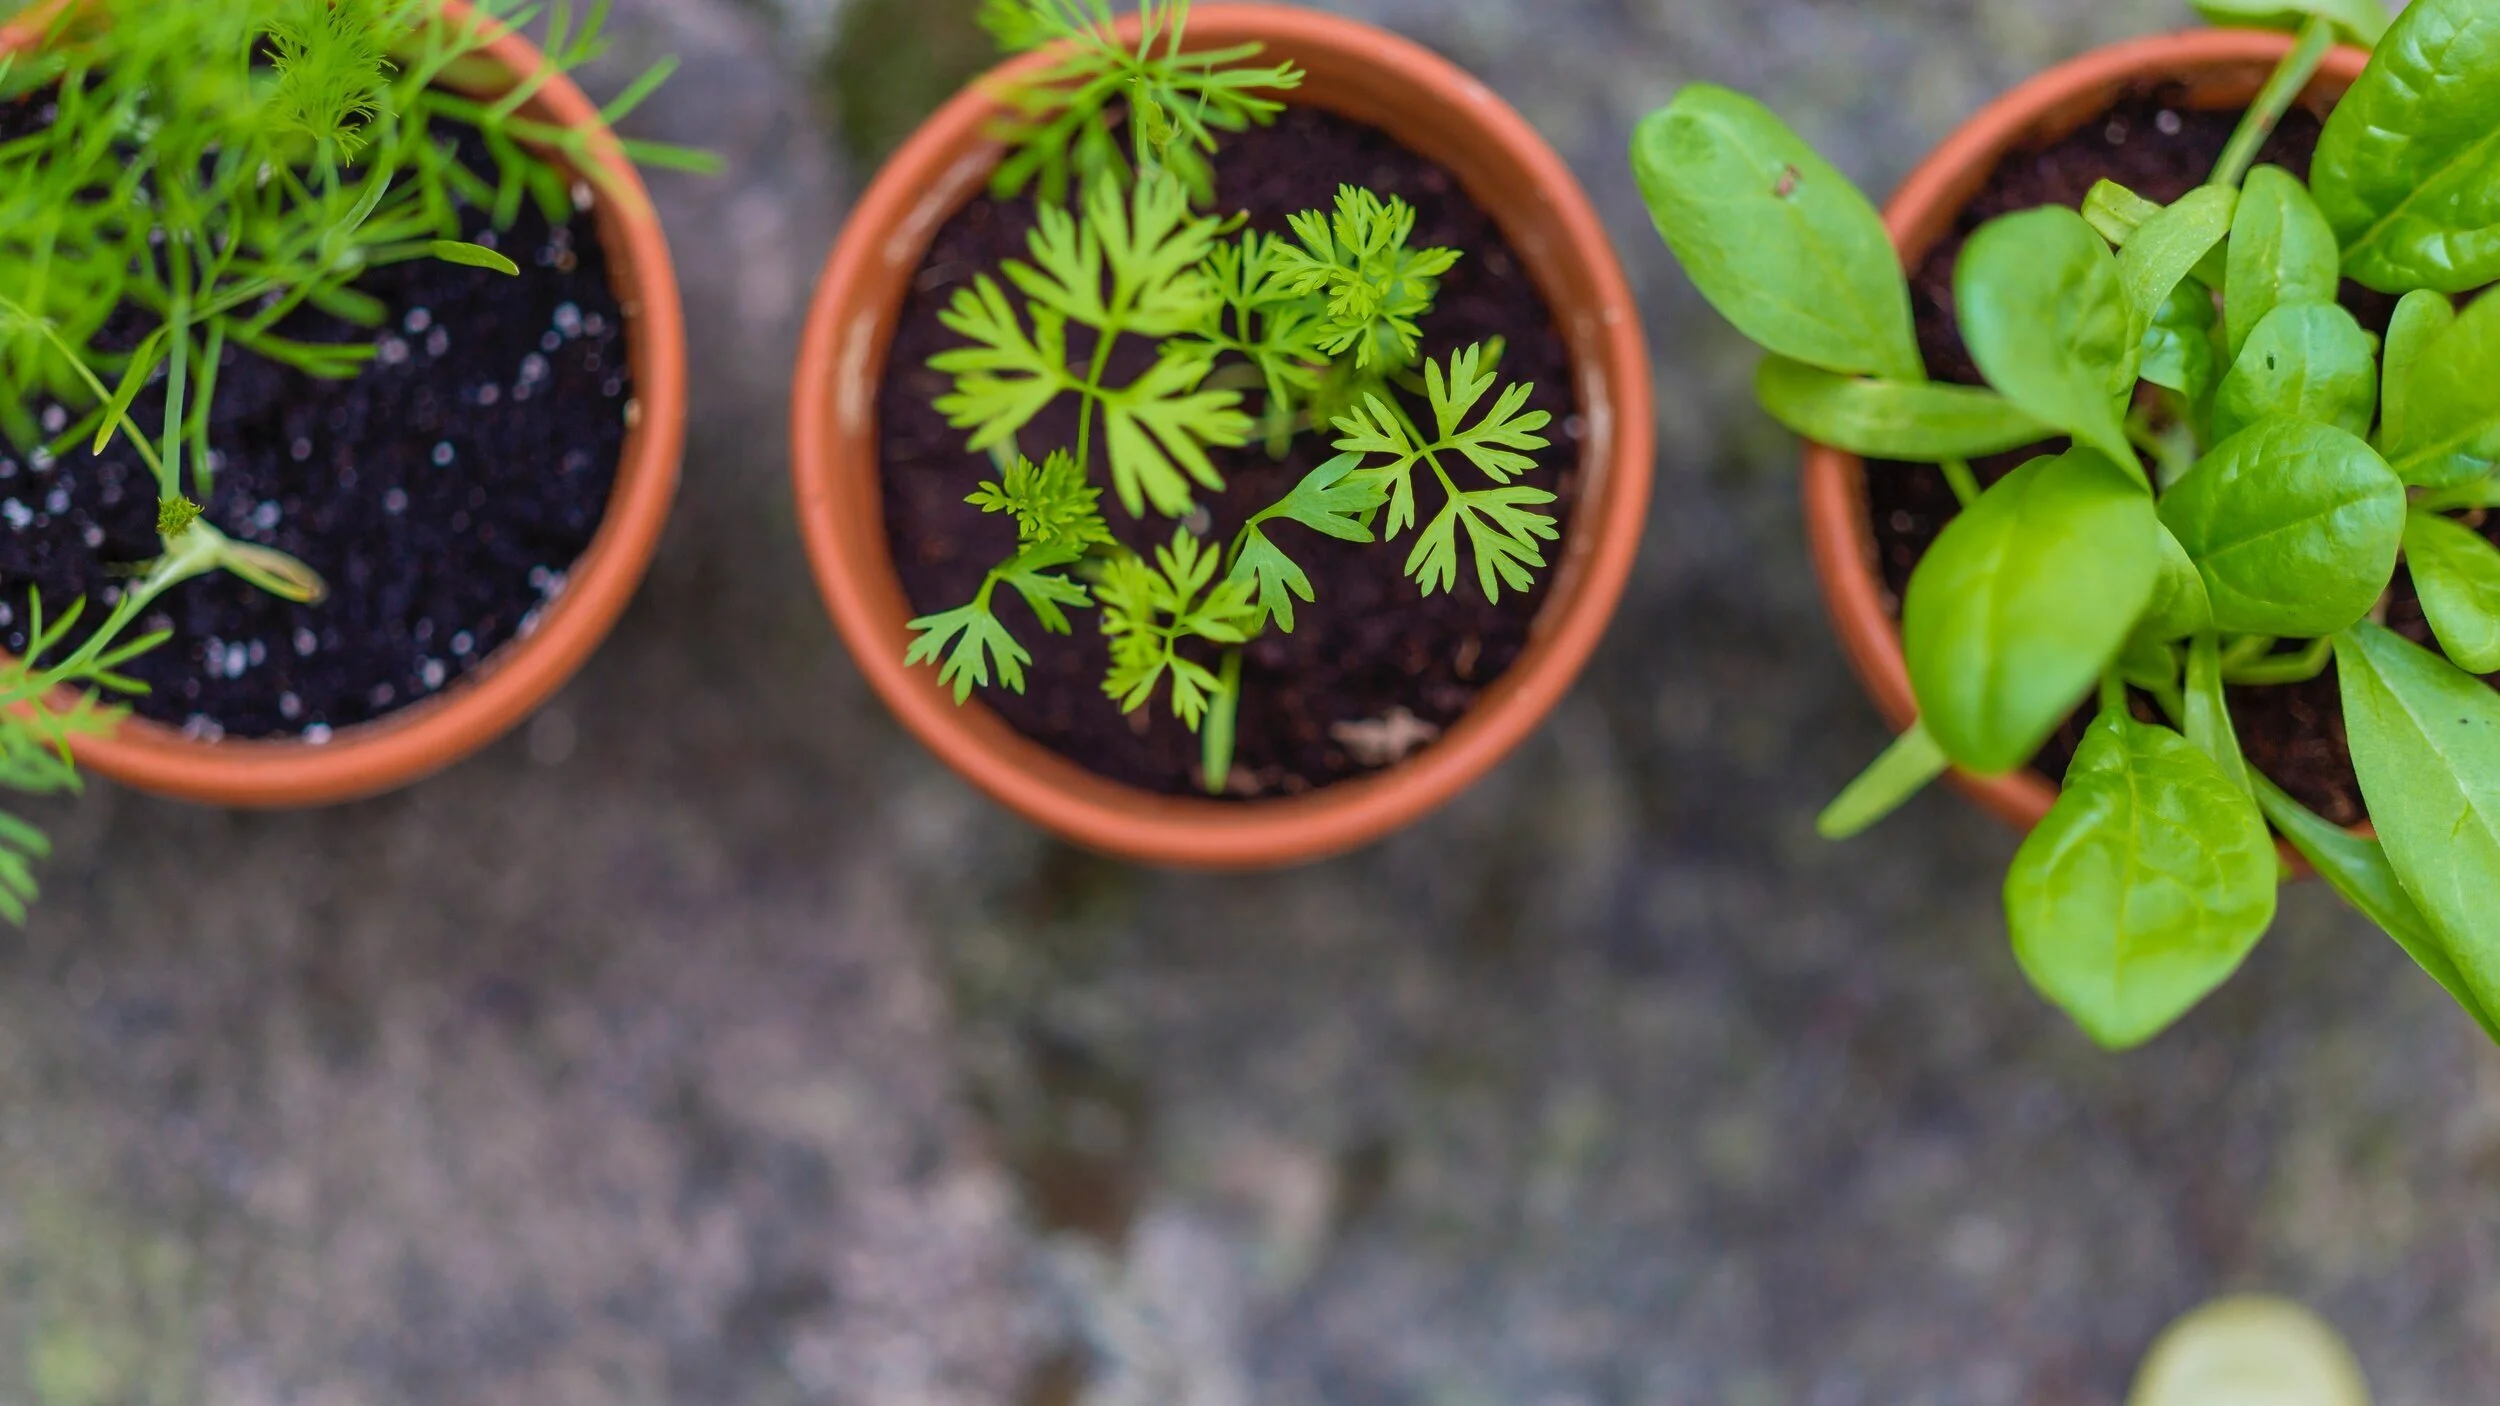
The first step to starting your window-box garden is always the hardest: choosing which herbs to plant. With so many aromatic herbs and so little space, it’s difficult to choose which plants will bring the most to your dining table.
Some of the most popular herbs in culinary practice are parsley, chives, thyme, basil, and mint, and they can be found in both at-home recipes and Michelin-star restaurants. However, a beginner gardener might want to start with “stronger” herbs—herbs that can withstand over or under-watering and varying exposure to sunlight, especially if you are beginning your box in the fall or winter when growing herbs is more difficult.
Personal Choice: Basil, Dill, Cilantro, Thyme, Mint
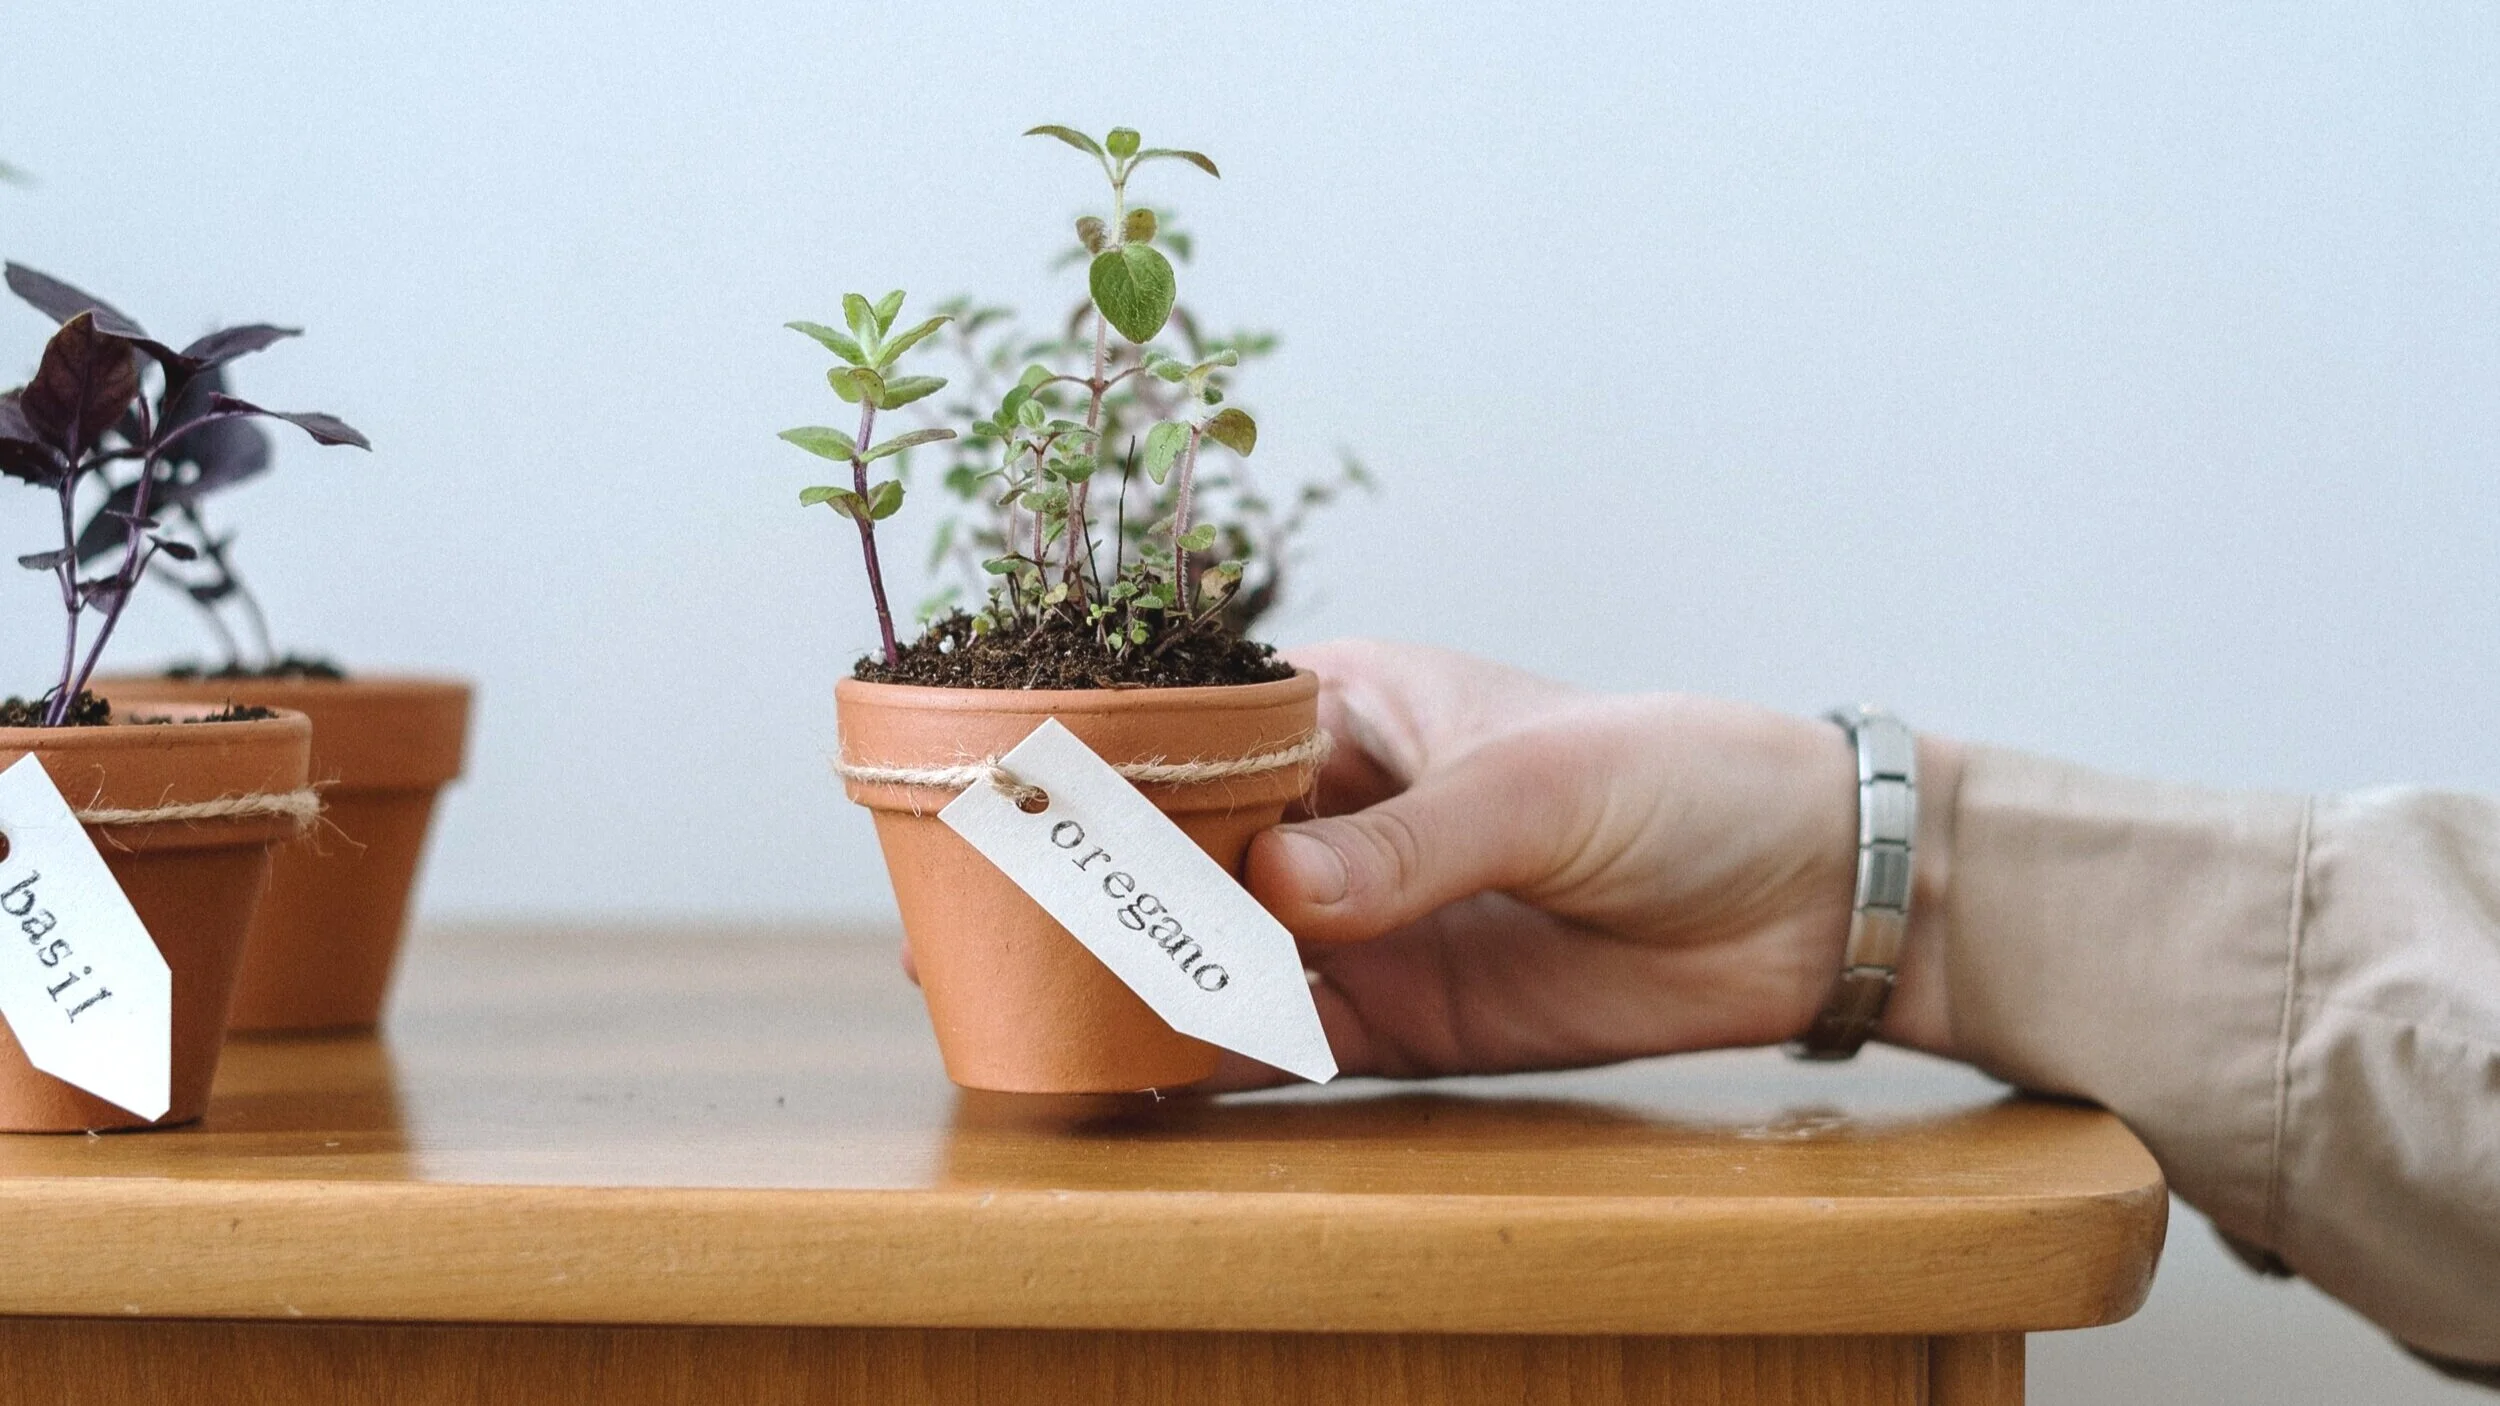
Accessories: To Pot or Not to Pot
Next, it’s time to accessorize your plants! Choosing the right pot for your plant is more important than it sounds—the wrong pot could cause your herbs to be more fragile than they already are. At the least, any pot with an 8-10 inch depth will provide enough room for your herbs to grow. In terms of material, a terra cotta pot is great for indoor, but dries out quickly—while a glazed pot is better for outdoor boxes as it retains more water.
While a window-box is most commonly seen as a one-pot rectangular housing for plants, many window-boxes also consist of smaller individual pots in a larger box! Both varieties have their own pros and cons: a single-box requires less watering and allows for more space for roots to take place, while individual pots make it easier to care for plants that need a little more attention and care. However, if potting in the same pot, make sure to keep annual and perennial herbs separate to allow for easy soil change under annual herbs!
Personal Choice: Potting individually: Pennington 7.5in Terra Cotta Clay Pot
Soil: Finding Your Soil-Mate
The abundance of soil bags at your local garden store can be overwhelming and temptingly slappable, but luckily, herbs don’t require as much nutrients in soil as many other garden plants! In fact, herbs do not need to be in any fertilizer at all—with the exception of fennel, lovage, and chervil, which require more nutrients [1].
What is necessary, however, is soil with good drainage—soil that does not retain excess water, which means that it is important to choose potting soil rather than garden soil. In the case of poorly-draining soil, this can be remedied with compost underneath the soil or an inch of gravel to allow for better drainage and to ensure optimal root health.
Personal Choice: Miracle-gro Seed-starting 8qt Potting Soil Mix
Placement: All Suns A-Blazing
If you are keeping your box inside, the amount of sunlight your herbs can absorb throughout the day is extremely important. The optimal place for your box is where your herbs can get full sun for at least five hours in a day, preferably near or on the window-sill of a south or west-facing window to catch the setting sun! Herbs can remain and thrive inside year-round, but perennial herbs prefer to be moved outside in the summer to receive the best temperature and sunlight for the growing season.
Personal Choice: Kitchen window - inside
Watering: Water You Waiting For?
Watering plants is easily the most daunting of all the care-requirements of plants, but a steady routine and check-up will have your plants healthy and glowing! The rule of thumb is to water your herbs once per week during colder seasons and twice per week during warmer seasons, making sure to water between 6-10AM to prevent evaporation. However, like other living organisms, plants’ needs are subject to change without notice.
The watering needs of your herbs can be checked by placing a finger on the top of the soil—if the soil is dry, it’s time to water! Since herbs are fragile, be sure to water your plants with a gentle stream of water; I personally chose to repurpose a plastic water bottle by using a pen to poke holes in the cap to imitate the stream of a watering can, but any gentle stream of water will do.
Personal Choice: Repurposed Water-Bottle with Poked Holes
Harvesting: Be-Leaf in Your Herbs
Finally, once your herbs are ready to eat, it’s time to pick the fruit of your labor and harvest! Rather than at the end of the day when the sun has evaporated your herbs’ aromatic oils, the best time to harvest your herbs is right before flowering and in the morning before the dew evaporates, to ensure the most saturated oil content for your cooking [2].
Once harvested, wash your leaves in cold water and pat to dry—making sure not to rub, as rubbing will remove some of the hard-earned oils that are contained in the leaves. Annuals can be cut off at ground level as they will need to be replaced and re-seeded in the next year, but perennials should be cut ⅓ down the main stem, leaving ⅔ of the stem above-ground to allow for re-growing in the next season!

Storing: The Passage of Thyme
While herbs can be harvested and used right away, you may end up with more leaves than you can cook with and may want to store your herbs for future use. The best way to do so is to store them in an airtight container once they are fully dry. The two easiest ways to dry your herbs are to either gently dab with a towel or to tie the stem with string and hang, allowing the water to evaporate.
Whether they are towel-dried or hang-dried, stored herbs need to be checked on a daily basis to ensure that they remain moisture-free; if any moisture remains in the container, mold may grow and spoil your herbs! If there is moisture, don’t fret; herbs can be removed, re-dried, and re-stored. To lengthen the longevity of your herbs, avoid storing and hang-drying your herbs in an area exposed to direct or bright sunlight.
Personal Choice: Towel-dried, stored in repurposed Marmalade Jars
Cooking: Eat, Drink, and Be Rosemary
The best part of herb-growing is finally being able to use your herbs! In my personal box, I have been growing dill, mint, thyme, basil, and cilantro. Herbs are extremely versatile and can be used in almost every main dish, but here are some of my favorite dishes!
The Bottom Line
Herbs may seem fragile and difficult to maintain, but growing them can be a highly rewarding and fun process! With proper sunlight, watering, and a place to grow, caring for a window-box garden can be a simple quarantine (and post-quarantine) project! Growing a garden in your home may sound overwhelming and difficult, but trust me when I say the hardest part is to start.
References
Growing Herbs in the Home Garden. Nuss, J. R. & Ferretti, P. A. (1978).
Herb Gardening. University of California Agriculture and Natural Resources. (2019).